
Connector installation should be the fastest part of a mat route—not the reason your crew lifts the same panels twice. Misaligned holes, missing hardware, and rushed tightening waste time. These eight field-tested steps help you connect mats once, keep the route aligned, and reduce rework.
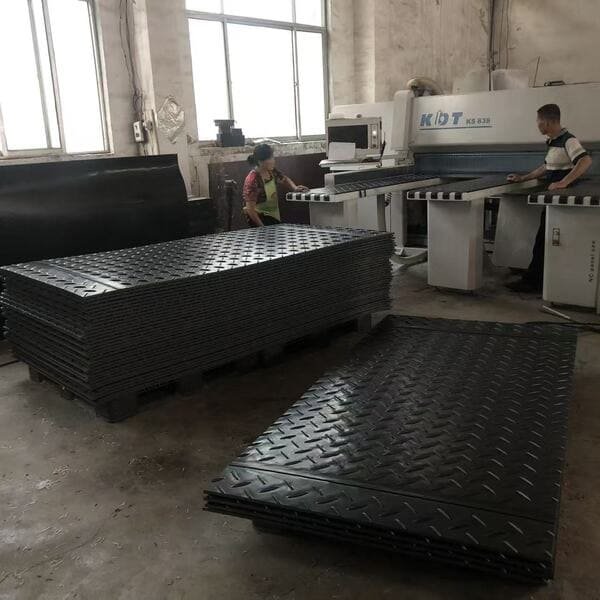
A connector does not increase the material strength of a mat. It keeps compatible panels aligned so the route behaves like one temporary surface.
I have seen crews install a straight lane quickly, then lose more time rebuilding one turning area. Maximum efficiency comes from planning the movement before the first connector goes in.
Tip 1: Plan the Connector Layout Before Unloading the Mats
Start with a simple route drawing. Mark the entrance, straight travel, turns, stopping points, slopes, working pads, pedestrian crossings, and exit.
Then match the connector to the joint. Two-way connectors normally serve locations where two mats meet, while four-way connectors serve compatible four-corner junctions.
For temporary road mats, the route should be firm, reasonably even, properly drained, and suitable for the traffic using it.1 A connector plan cannot rescue a route that was laid across an unsupported void.
Use the mat grid to estimate joint locations before ordering hardware.
| Example Layout | Mat Quantity | End-to-End Joint Locations | Side-by-Side Joint Locations | Four-Corner Junctions |
|---|---|---|---|---|
| 1 row × 5 mats | 5 | 4 | 0 | 0 |
| 2 rows × 5 mats | 10 | 8 | 5 | 4 |
| 3 rows × 5 mats | 15 | 12 | 10 | 8 |
These figures count connection locations, not exact connector pieces. The final quantity depends on the hole pattern and connector design.
For a rental fleet, include a small spare allowance. Lost bolts or links should not leave one section of the route unconnected.
Tip 2: Start From a Firm, Square Reference Line
The first two mats determine the alignment of everything that follows.
Start from pavement, compacted gravel, or another firm entry point. If that is unavailable, establish a straight reference with a string line, laser, or clearly marked route edge.
I would rather spend five minutes squaring the first row than thirty minutes correcting ten misaligned panels. Small errors grow as the route gets longer.
Lay each mat flat before installing the connector. Do not use the connector to pull a crooked panel into position.
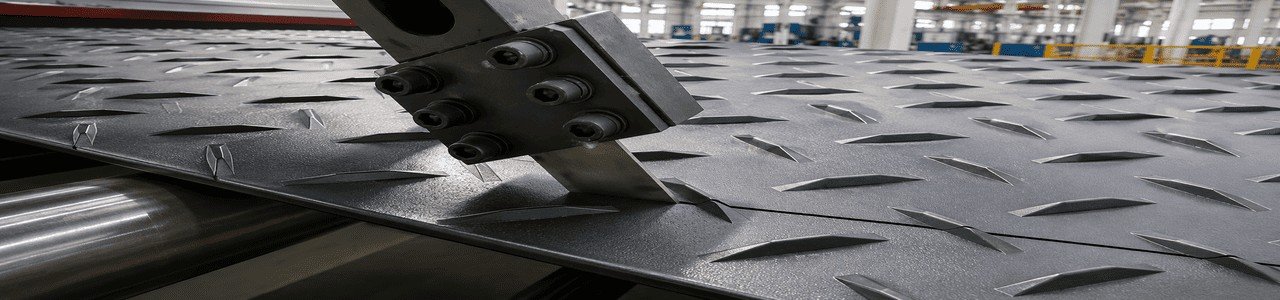
With 4x8 ground mats, check both long edges after every two or three panels. This prevents gradual drift across a long lane.
Tip 3: Clean and Align Every Connector Hole First
Mud, stones, bent washers, and grit can make a simple connector feel difficult.
Clean the holes before inserting hardware. Bring the panels together by repositioning the mat, not by hammering or forcing the connector through misaligned holes.
Dry-fit the joint first. Confirm that the connector sits in the correct orientation and that all required holes are visible.
Some systems place the connector below the mat with a plate or fastener above. Others use turn links, pins, or drop-in components.
Train the crew on one system before the job begins. Mixing installation habits between connector types creates slowdowns and damaged holes.
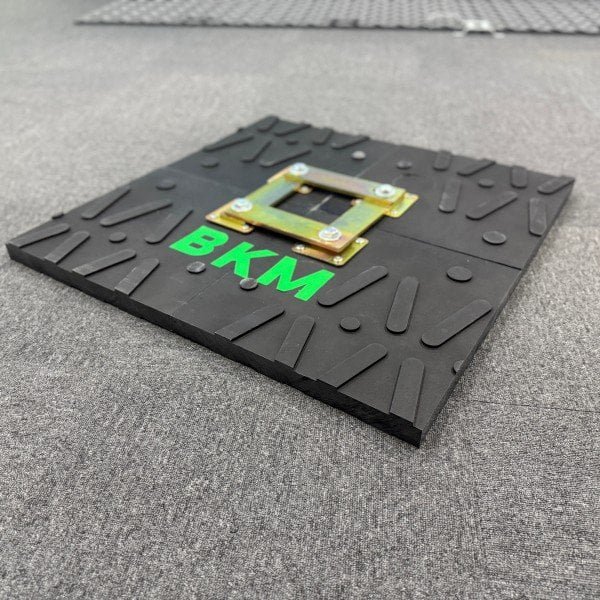
If a connector suddenly needs much more force than the previous ones, stop. The problem is usually alignment, contamination, or incorrect orientation—not a need for a bigger hammer.
Tip 4: Pre-Stage Hardware and Give Each Crew Member One Role
Efficiency improves when the crew stops searching for hardware.
Divide the route into sections and place the required connectors, bolts, plates, washers, and tools in separate lidded containers. Keep spare hardware in a different marked container.
A practical three-person sequence is:
- The first person positions and aligns the mat.
- The second person installs the connector.
- The third person checks route alignment and stages the next panel.
For a two-person crew, one person can position panels while the other handles connectors and final checks. Avoid making both people repeatedly switch between lifting, searching, tightening, and measuring.
Manual handling risk depends on weight, shape, grip, carrying distance, repetition, and working conditions—not weight alone.2 Use hand holes, team lifting, or local handling aids when the panel cannot be moved comfortably.
BKM supplies mats and matching connector systems. Tool bags, lidded hardware bins, torque tools, and other site equipment can be prepared locally.
Tip 5: Connect the Highest-Stress Areas First
If time is limited, do not connect only the easy straight section.
Start with entrances, turns, slopes, braking areas, loading points, and places where vehicles reverse. These zones generate the most side movement.
| Route Zone | Main Force | Installation Priority |
|---|---|---|
| Firm straight lane | Mostly downward load | Standard connection plan |
| Entrance and exit | Braking and edge loading | High |
| Turning area | Strong lateral force | Very high |
| Slope | Gravity and braking | Very high |
| Work pad | Turning, stopping, and repeated loading | Very high |
| Muddy section | Reduced friction below the mat | High |
| Public walkway | Repeated foot traffic and edge exposure | High |
| Low-traffic dry section | Limited movement | Lower |
Wet ground increases compaction and rutting risk under machinery traffic.3 It also reduces friction beneath the mats, making alignment more difficult to maintain.
For construction mud mats, connect the problem zones before traffic begins. Once mud pumps through an open seam, repairs take longer.
At construction entrances, inspect drainage and mud tracking throughout the job. Access controls need maintenance as the ground and traffic conditions change.4

Connectors alone are not enough for a tight turn. Widen the mat layout so tires or tracks remain away from exposed edges.
Tip 6: Lock the Connector Securely Without Forcing It
A connector should be fully seated and locked according to its design. It should not be left loose, cross-threaded, or partially engaged.
Do not assume tighter is always better.
Over-tightening a bolt-style system can stress the plastic around the hole or prevent the normal movement intended by the design. Under-tightening can allow the joint to rattle, shift, or open.
Use the specified tool and locking position. Do not default to an impact wrench unless the connector instructions permit it.
I prefer a controlled hand tool for the first installation. It lets the crew feel cross-threading, misalignment, or abnormal resistance before damage occurs.
After locking the joint, check that the mat edges remain level. A secure connector should not create a raised corner or a new trip point.
Tip 7: Test Early and Recheck After the First Passes
Do not wait until the full vehicle fleet is on the route.
Walk the completed section first. Check for rocking panels, raised edges, open gaps, loose parts, and areas that sink under body weight.
Where the project allows, make the first vehicle pass slowly. Use the lightest suitable vehicle before introducing heavier traffic.
Walking and working surfaces should be inspected and repaired when conditions become hazardous.5 Public routes should also remain stable, firm, and slip resistant, with controlled gaps and level changes.6
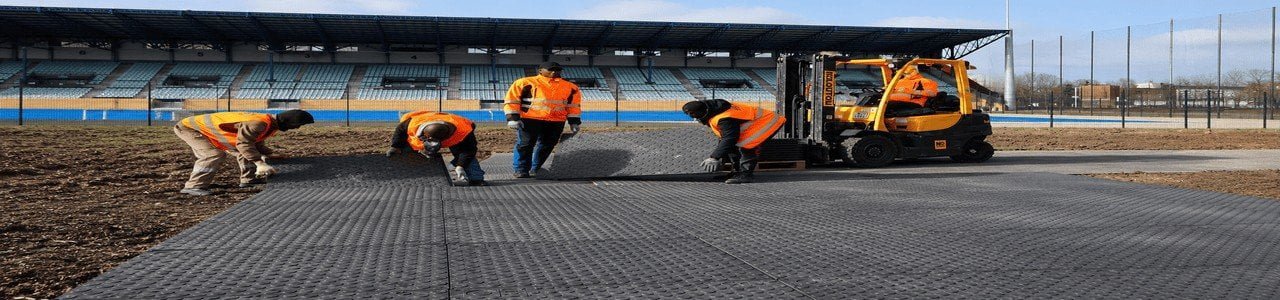
Inspect again after the first few passes. Mats may settle into grass, mud, or uneven soil even when the initial installation looked correct.
At turns, watch for connector-hole movement and diagonal panel drift. Fix the first small movement before it becomes a separated route.
Tip 8: Remove, Count, Inspect, and Store Connectors Systematically
Efficient connector installation begins with good removal from the previous job.
Remove traffic before disconnecting the route. Work from the far end back toward the stable exit, so the crew does not become trapped on loose ground.
Place every connector and fastener directly into a lidded container. Do not put small parts on the mat surface or in a pocket where they can disappear into mud.
Clean the hardware before storage. Inspect for bent pins, damaged threads, corrosion, distorted plates, and connector holes that have stretched or cracked.
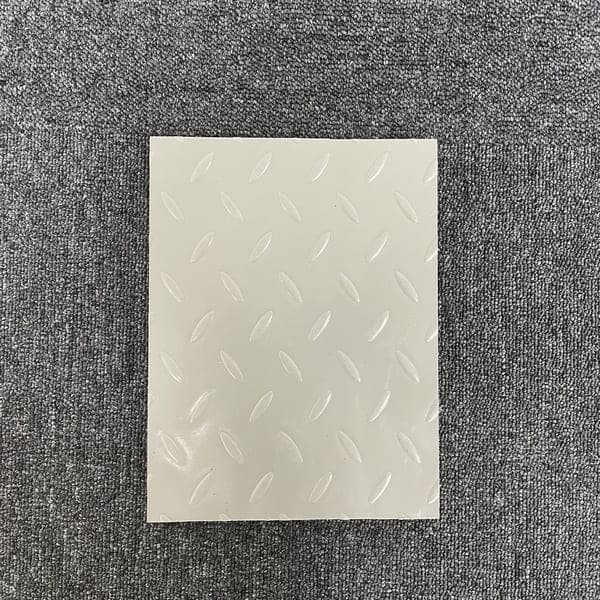
Label each container by connector type and mat system. This prevents the wrong hardware reaching the next site.
When ground anchors or stakes are used separately from the connector system, check buried utility requirements before penetrating the ground.7 Connector installation should never create a utility strike risk.
Standardize the System Before You Expand the Fleet
The fastest crews usually work with a consistent mat and connector system.
Before adding new ground protection mats to an existing fleet, compare hole spacing, edge thickness, panel height, connector clearance, and locking method.
Two mats with the same outside dimensions may not share compatible connector geometry.
For more demanding vehicle access, heavy duty access mats may need a different connection plan from lightweight pedestrian or landscaping panels.
For public routes, temporary walkway mats need stable joints and low-profile transitions. The connector should support the route without creating a raised obstruction.
BKM can support common and custom mat dimensions, connector-hole layouts, surface patterns, colors, logo marking, and private-label requirements. We also supply the matching connector system for the confirmed layout.
For distribution or rental orders, decide how connectors will be packed before production. Separate, labeled hardware packs make counting, delivery, and return inspection much easier.
For a broader route-planning sequence, use the ground protection mats installation guide alongside the connector plan.
FAQ
How Many Spare Connectors Should I Order?
For contractor or rental use, plan a small spare allowance for lost or damaged hardware. A working range of about 5–10% may be practical, but adjust it for job length, connector type, and return control.
Can I Mix Connectors From Different Mat Brands?
Only after confirming the dimensions. Check hole diameter, spacing, edge thickness, plate clearance, bolt length, and finished surface height.
Should Connector Heads Sit Above the Mat Surface?
Follow the connector design. For pedestrian routes, avoid hardware that creates an unnecessary raised point or catches small wheels.
Do Connectors Need Retightening During the Job?
Bolt-style systems should be inspected after the first vehicle passes and during longer projects. Recheck sooner on turns, slopes, mud, and repeated braking zones.
Can I Install Connectors After Vehicles Have Already Used the Mats?
You can, but it is slower and less reliable. Traffic may shift the panels, fill holes with mud, and make alignment harder. Connect before opening the route.
What Should I Do if the Connector Holes Do Not Align?
Stop and reposition the mats. Check route drift, trapped debris, panel orientation, and whether the connector matches that mat system. Do not enlarge holes on site without approval.
Can One Connector Plan Work for Both Pedestrians and Heavy Equipment?
Not always. Heavy equipment routes need more attention at turns and braking zones, while pedestrian routes need controlled gaps, flat transitions, and low trip risk.
How Do I Prevent Connector Hardware From Being Lost in Mud?
Use lidded, labeled containers and assign one crew member to hardware control. Count connectors at delivery, installation, removal, and return.
Install Once, Avoid Rework
Maximum efficiency does not come from fastening every joint as quickly as possible. It comes from choosing the correct connector, aligning the route, securing high-stress zones, and checking movement early.
When the system is planned correctly, your crew installs the connectors once—and spends the rest of the job using the route instead of rebuilding it.
References
UK Health and Safety Executive. [Temporary Workplaces and Unprepared Roadways](https://www.hse.gov.uk/workplacetransport/temporaryworkplace.htm). ↩
UK Health and Safety Executive. [Agriculture — Manual Handling](https://www.hse.gov.uk/agriculture/topics/manual-handling.htm). ↩
Iowa State University Extension and Outreach. [How and Why to Avoid Soil Compaction](https://crops.extension.iastate.edu/cropnews/2010/04/how-and-why-avoid-soil-compaction). ↩
U.S. Environmental Protection Agency. [Stormwater Discharges from Construction Activities](https://www.epa.gov/npdes/stormwater-discharges-construction-activities). ↩
Occupational Safety and Health Administration. [1910.22 — General Requirements](https://www.osha.gov/laws-regs/regulations/standardnumber/1910/1910.22). ↩
U.S. Access Board. [Chapter 3: Floor and Ground Surfaces](https://www.access-board.gov/ada/guides/chapter-3-floor-and-ground-surfaces/). ↩
811 Before You Dig. [Before You Dig](https://call811.com/before-you-dig). ↩