
 English
 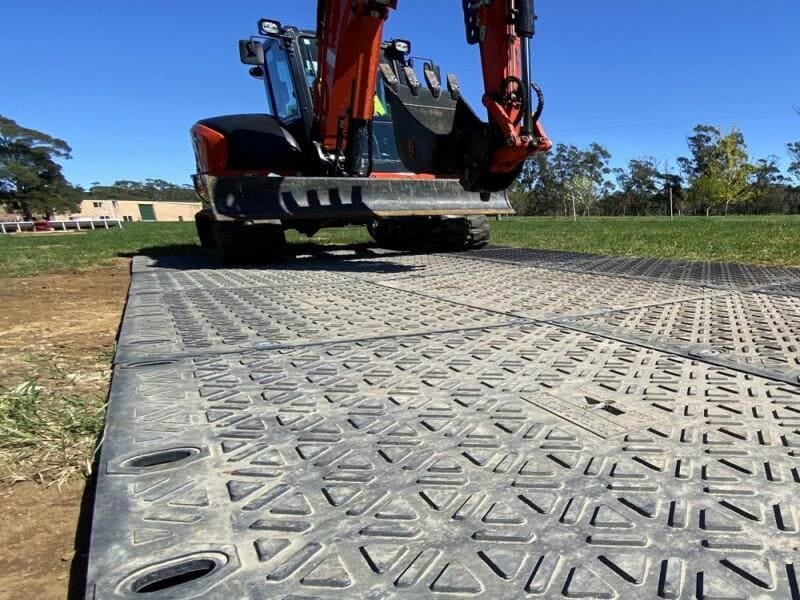 A 32 ft scissor lift may look compact, but one wrong turn on a premium driveway can leave a crack, chip, scratch, or settled paver that costs far more than a few ground protection mats.
If the surface is decorative concrete, stamped concrete, exposed aggregate, porcelain pavers, natural stone, or interlocking pavers, do not treat the job like normal driveway traffic.
What you really want is simple: get the lift to the work area, finish the job, and leave the driveway looking the same when you leave.
That means you need a planned temporary access route before the lift enters the property.
The Real Risk Is Concentrated Tire Load
A 32 ft class scissor lift is heavier than it looks.
Some models can weigh over 5,000 lb. Depending on the machine, platform load, tire type, position, and movement, one tire may place around 1,500–2,000 lb on a small contact area.
That is very different from a passenger car.
A car spreads weight through larger pneumatic tires. A scissor lift often uses smaller solid tires, so the pressure is more concentrated. The surface may not fail because of total weight alone. It may fail because too much pressure lands on one small point.
The risk increases when the lift:
- turns sharply
- stops suddenly
- drives near an edge
- crosses a control joint
- rolls over hollow or weak concrete
- moves across loose or poorly supported pavers
- carries weight on the platform
- works on a driveway that was not built for compact equipment
For premium driveways and pavers, the first rule is clear: do not let the lift tires touch the finished surface directly if damage would be expensive to repair.
Premium Surfaces Have More to Lose
A basic concrete slab may already have marks, cracks, or rough finishing. A premium driveway is different.
Small damage can become a big problem because the repair has to match the original finish. A cracked stamped concrete section, chipped porcelain paver, scratched dark stone, or shifted paver border may not be easy to hide.
Common damage includes:
| Damage Type | Where It Usually Happens | Why It Happens |
|---|---|---|
| Hairline cracking | Slab edges, control joints, weak sections | Concentrated tire load |
| Surface scratching | Decorative concrete, dark pavers, polished areas | Grit trapped under tires or mats |
| Paver chipping | Corners and edges | Point pressure or turning force |
| Paver settlement | Weak base areas | Repeated load over poor support |
| Joint sand movement | Interlocking pavers | Tire movement and vibration |
| Edge restraint movement | Paver borders | Turning or driving too close to the edge |
| Hidden base failure | Hollow or poorly compacted areas | Load passes through the mat into weak support |
This is why protection should be installed before the first tire mark appears.
Do Not Use Only Four Small Pads
Small pads under the wheels may help if the lift is already parked and will not move.
But they do not protect the driveway while the lift travels.
A scissor lift must drive, steer, brake, and reposition. Most damage happens during movement, not while the machine is sitting still.
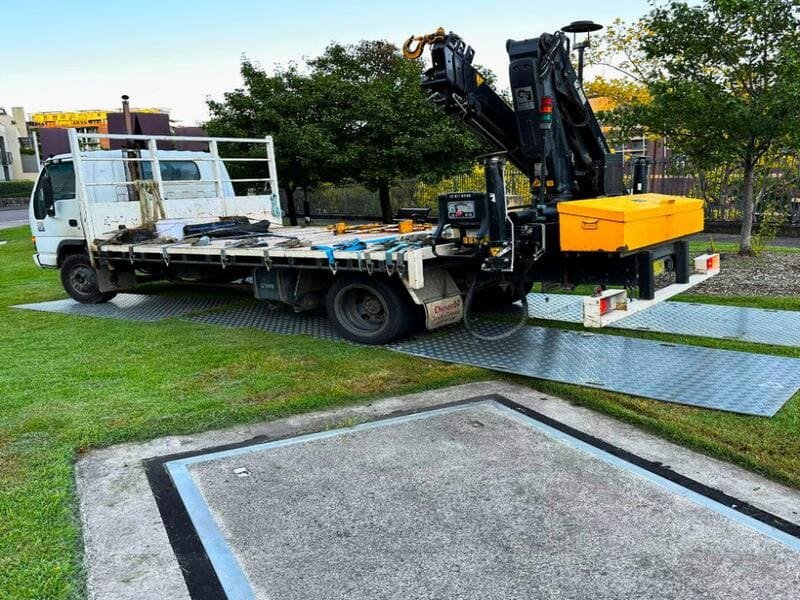
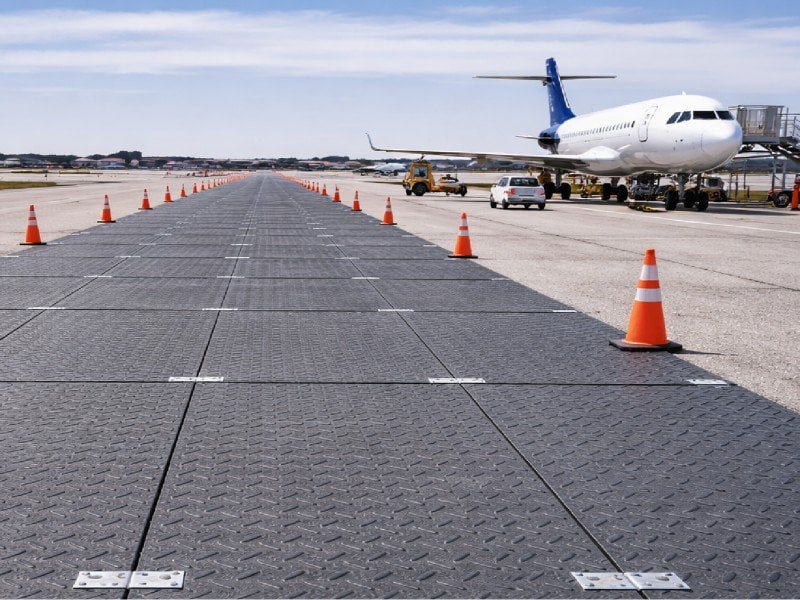
For this reason, use a continuous mat route from the entry point to the work area.
The lift should stay on the protected route the whole time.
Recommended Mat Layout
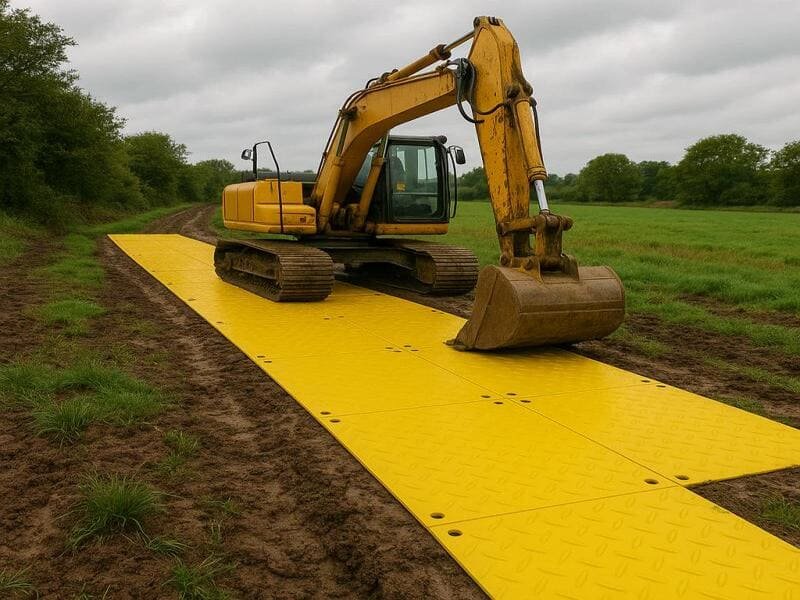
For a narrow, straight route, a 4 ft wide mat track may work if the operator is careful and the surface is low-risk.
For premium concrete and pavers, an 8 ft wide route is usually safer where space allows. If you use standard 4 ft × 8 ft HDPE ground protection mats, that means two rows side by side.
An 8 ft route gives the operator room to stay centered. It also reduces the chance of one tire dropping off the mat edge and placing direct pressure on the driveway.
At the work area, use a wider pad instead of a narrow lane.
| Area | Practical Layout |
|---|---|
| Straight driveway crossing | 4 ft minimum for controlled light movement; 8 ft preferred for premium surfaces |
| Main travel route | Two rows of 4 ft × 8 ft mats where space allows |
| Working area | 8 ft × 16 ft, 12 ft × 16 ft, or larger depending on movement |
| Turning area | Wider mat pad, not a narrow strip |
| Near slab edges or paver borders | Extra mat width to keep tires away from edges |
| Repeated repositioning zone | More mats, connected layout, and slower movement |
If the lift must turn, do not force the turn on a narrow mat strip. Add mats first. The cost of a few extra panels is usually much lower than repairing a premium driveway.
Clean the Surface Before Mats Go Down
This step looks simple, but it matters a lot.
If sand, gravel, screws, small stones, mortar pieces, or metal debris are trapped under the mat, the mat can grind those particles into the driveway as the lift moves.
On dark pavers, polished concrete, or decorative finishes, the scratch may be very visible.
Before laying mats:
- Sweep or blow the full route clean.
- Check paver joints and corners.
- Remove stones near landscaping edges.
- Remove screws, nails, metal pieces, and broken concrete.
- Clean the underside of the mats if they were used on a muddy job before.
For high-value surfaces, prepare a clean, thin, firm protective layer under the mats. A nonwoven geotextile or similar flat fabric can help reduce abrasion.
Do not use thick foam or unstable rubber under the lift route. A soft layer may make the machine feel less stable.
A practical setup is:
Clean driveway surface
↓
Thin protective fabric if needed
↓
HDPE or composite ground protection mats
↓
Connected route where movement may occur
↓
Slow lift movement with a spotter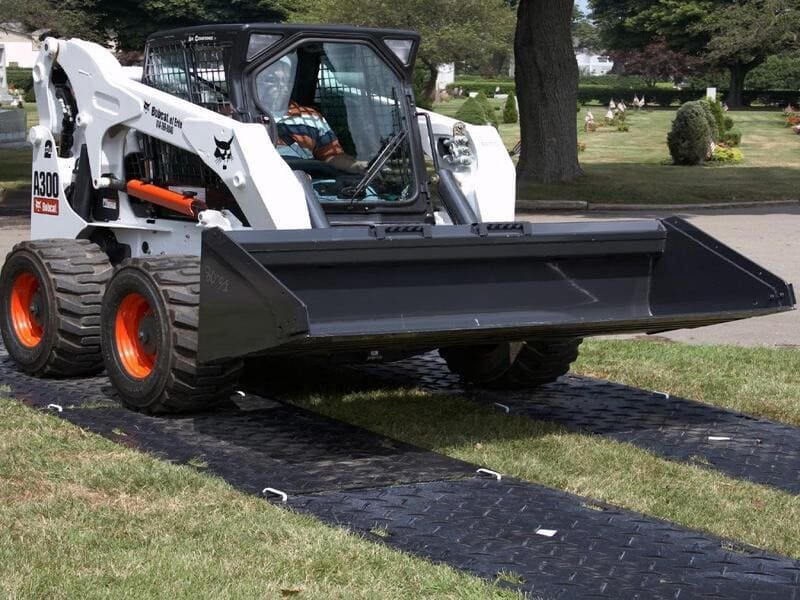
Protect Edges, Joints, and Borders First
The center of a good slab is usually not the weakest point.
The weak points are often:
- slab edges
- control joints
- expansion joints
- trench drains
- paver borders
- edge restraints
- drain covers
- decorative inserts
- hollow-sounding areas
- newly repaired sections
- thin stone or tile areas
Do not let a scissor lift tire run close to a driveway edge. Edges crack more easily because they have less surrounding support.
For concrete slabs, try to place mats so they span across joints instead of leaving the wheel load directly on one narrow joint line.
For pavers, protect the border courses and edge restraints. Pavers depend on the base, bedding layer, joint sand, and edge restraint working together. If the lift twists near the edge, the pavers can move, chip, or settle.
A mat spreads load, but it still needs support underneath. If the slab is hollow or the paver base is weak, mats reduce risk but cannot make the surface risk-free.
Control the Lift Movement
Even with good mats, operator behavior decides a lot.
The lift should move slowly. Avoid sudden braking. Avoid sharp turns. Do not spin the wheels. Do not turn in place on decorative pavers.
Keep the machine centered on the mat route.
Use a spotter if the surface is expensive, the route is tight, or the lift must move close to edges.
The spotter should watch:
- lift tires
- mat edges
- paver movement
- slab joints
- mat shifting
- corners lifting
- drain covers
- driveway borders
If a mat shifts, a paver rocks, or an edge starts lifting, stop immediately and adjust the route.
Do not keep driving because “it is only a short distance.” That short distance is often where damage happens.
Why HDPE or Composite Mats Are Better Than Plywood
Plywood may work for light, dry, low-risk jobs, but it is not the best protection for premium concrete or pavers under scissor lift movement.
Plywood can:
- bend under solid tires
- absorb moisture
- split at the edges
- trap grit
- shift under turning force
- overlap or lift at corners
- create an uneven route
- leave wood fibers or dirt behind
HDPE and composite ground protection mats are better suited for repeated access work. They provide a more controlled surface, resist moisture, spread load more evenly, and can be cleaned and reused.
For BKM applications, the mat is not just a board. It is part of a temporary access system.
The goal is to reduce point pressure, control the travel path, protect the finished surface, and help the operator move the lift without guessing.
When Connectors Are Needed
For premium driveways and pavers, connectors are strongly recommended when the lift will move, turn, brake, or reposition.
Loose mats can separate or shift. Once a gap opens, one tire can catch the mat edge or drop onto the unprotected surface.
Use connectors in these areas:
| Route Area | Connector Priority |
|---|---|
| Entry point | High |
| Long straight route | Medium to high |
| Turning area | Very high |
| Working pad | High |
| Slope or grade change | High |
| Near driveway edge | High |
| Over paver borders | High |
| Public or customer-facing area | High |
Connectors do not increase the material strength of the mats. They help the panels stay aligned so the route works as one surface.
If the lift turns, widen the layout first. Do not rely on connectors alone to control a tight turn on a narrow strip.
Do Not Use Mats as a Bridge
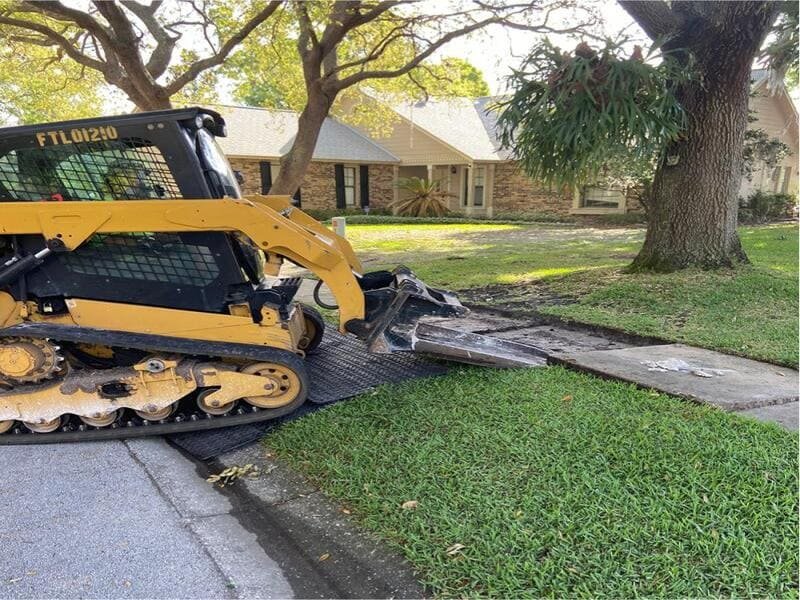
Ground protection mats reduce pressure and surface damage, but they are not bridges.
Do not use standard mats to span:
- open trenches
- unsupported voids
- broken slab sections
- septic covers
- drain openings
- hollow paver areas
- weak utility lids
- cracked unsupported concrete
If the driveway is thin, hollow, newly poured, already cracked, or poorly supported, mats cannot guarantee full protection.
The safest choice may be a lighter lift, a different route, more mat coverage, or positioning equipment from a stronger surface.
I would rather slow down the plan before the lift enters than explain driveway damage after the job is done.
Practical Protection Plan
For a 32 ft scissor lift on premium concrete or pavers, use this process:
| Step | Action |
|---|---|
| 1 | Confirm lift weight, tire type, and travel path. |
| 2 | Inspect the driveway for cracks, edges, joints, drains, paver borders, and hollow areas. |
| 3 | Sweep or blow the full route clean. |
| 4 | Add thin protective fabric if the finish is sensitive. |
| 5 | Build a continuous HDPE or composite mat route. |
| 6 | Use an 8 ft wide route where space allows. |
| 7 | Add a larger working pad where the lift stops or turns. |
| 8 | Connect mats in high-movement areas. |
| 9 | Keep the lift centered and move slowly. |
| 10 | Use a spotter and inspect after the first pass. |
This plan does not promise zero risk. No mat can promise that on a weak or unknown surface.
But it greatly reduces avoidable damage.
BKM Practical Recommendation
For premium concrete driveways and pavers, BKM would not rely on plywood or four small wheel pads if the scissor lift needs to travel.
Use a continuous HDPE or composite mat route. Make it wide enough for steering correction. Add a larger pad where the lift turns or works. Clean the surface before laying mats. Use a thin fabric layer if the finish is sensitive. Connect the mats where movement can occur.
Most importantly, keep the operator from leaving the protected route.
You are not only protecting concrete. You are protecting the property owner’s trust, the contractor’s reputation, and the job profit after cleanup.
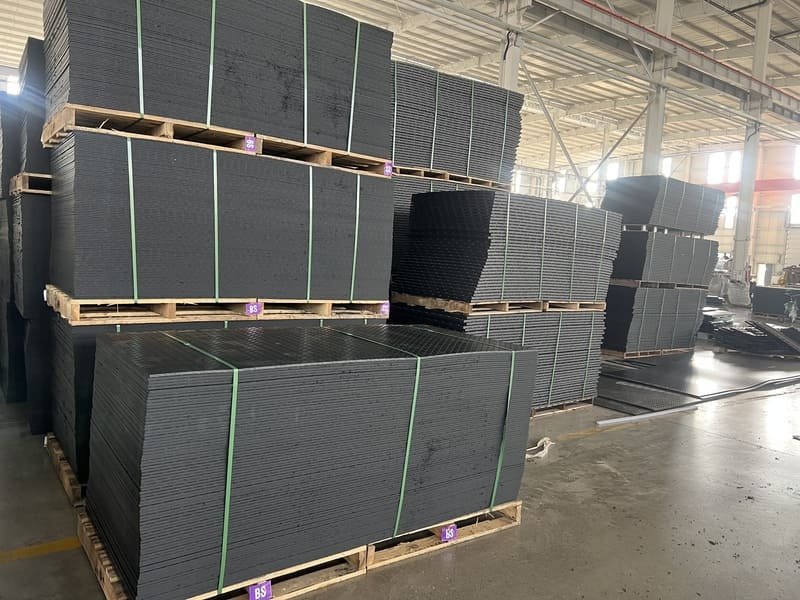
BKM can support HDPE ground protection mats in common sizes and custom dimensions, with surface texture options, colors, hand holes, connector holes, logo marking, private-label needs, and export packaging.
BKM also provides connector systems for mat layouts. Other site accessories, such as fabric underlayment, ramps, hooks, straps, storage racks, or anchors, can be prepared locally if the project requires them.
FAQ
Can a 32 ft scissor lift crack a concrete driveway?
Yes. The risk depends on slab thickness, base support, existing cracks, tire load, route layout, and operator movement. The biggest concern is concentrated tire pressure, especially near edges, joints, and weak areas.
Are pavers safer than concrete under a scissor lift?
Not always. Pavers can handle load well when the base is properly built, but they can settle, shift, chip, or lose joint stability under concentrated equipment movement.
Is plywood enough to protect a premium driveway?
For a high-value driveway, plywood alone is usually not the best choice. HDPE or composite mats give better load spreading, moisture resistance, and route stability.
How wide should the mat route be?
For a very straight, controlled path, 4 ft may work. For premium concrete and pavers, an 8 ft wide route is safer where space allows, especially if steering correction or turning is needed.
Should I only place pads under the wheels?
Only if the lift is already in position and will not move. If the lift needs to travel across the driveway, use a continuous mat road.
Do I need fabric under the mats?
For decorative concrete, polished finishes, dark pavers, porcelain pavers, or natural stone, a clean thin protective fabric can help reduce abrasion from grit. It should be firm and flat, not soft or unstable.
Can mats prevent all cracking?
No. Mats reduce risk, but they cannot guarantee protection if the concrete or paver base is weak, hollow, cracked, too thin, newly installed, or poorly supported.
Should mats be connected?
For lift movement, turning areas, slopes, premium surfaces, or repeated passes, yes. Connectors help prevent gaps, shifting, and exposed edges.
Conclusion
To protect premium concrete driveways and pavers under a 32 ft scissor lift, you need more than a few boards.
You need a planned temporary access route.
The safest method is to clean the surface, add protective fabric where needed, lay connected HDPE or composite ground protection mats, widen turning and working areas, and move the lift slowly with a spotter.
A 32 ft scissor lift can place high concentrated load through small solid tires. BKM ground protection mats help spread that load and protect the finished surface, but the final result still depends on slab strength, paver base quality, route layout, and careful operation.
If the surface is expensive, fragile, newly installed, or already cracked, do not guess.
Protect the route first, or choose another access method before the lift enters the driveway.